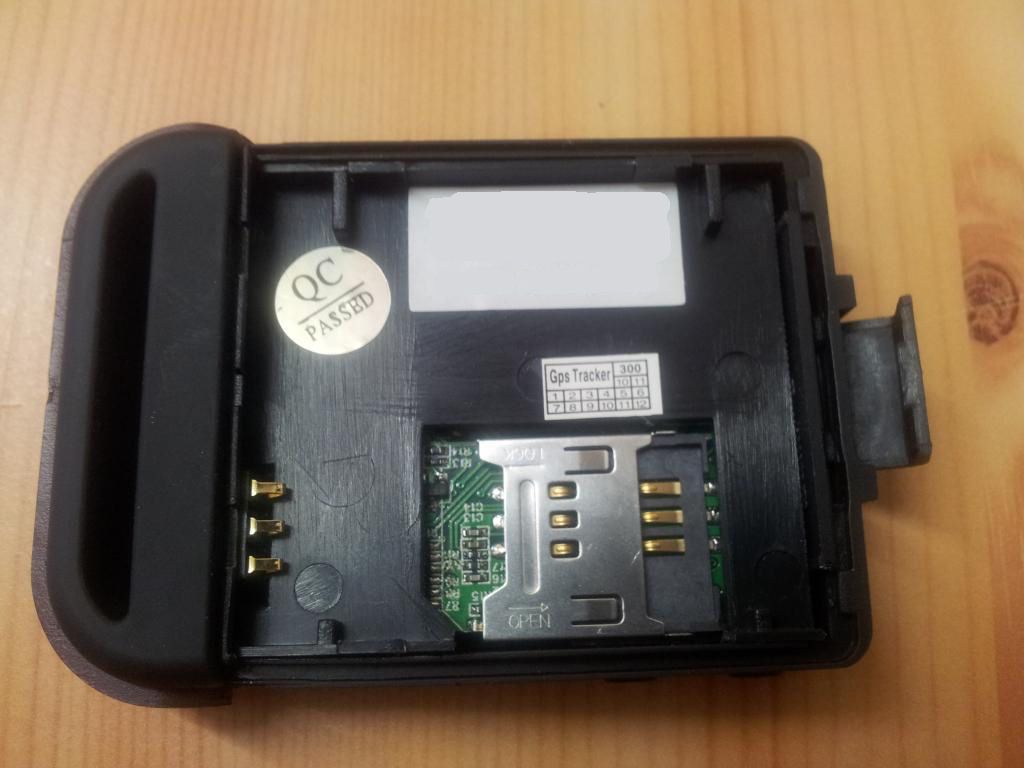
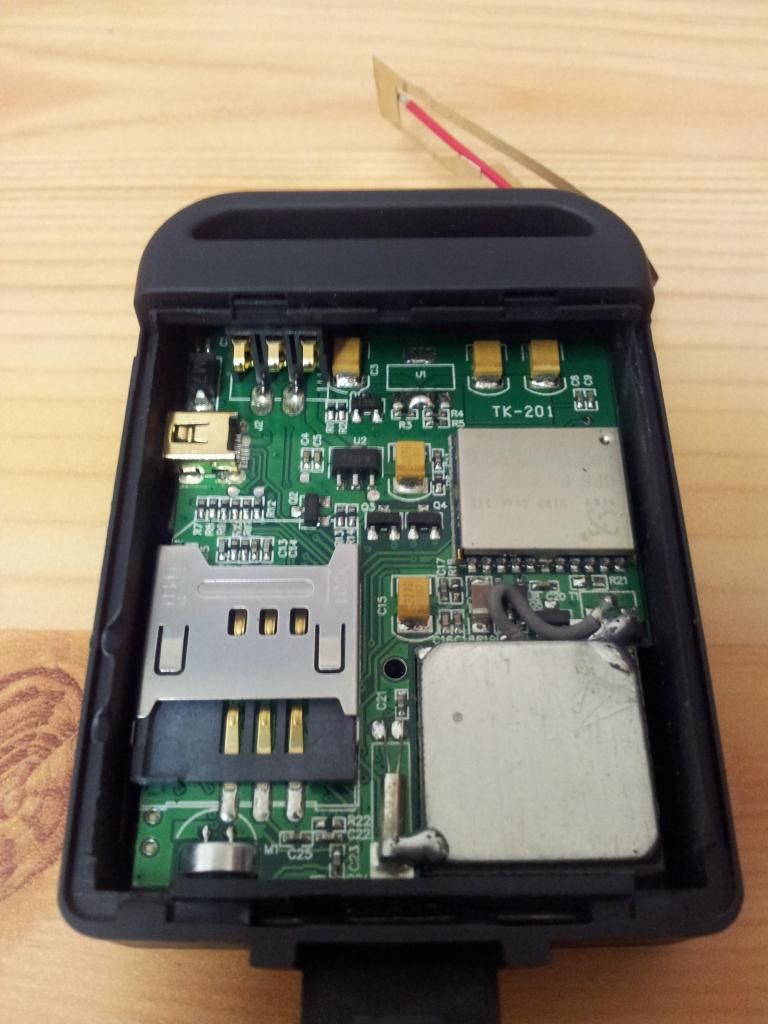
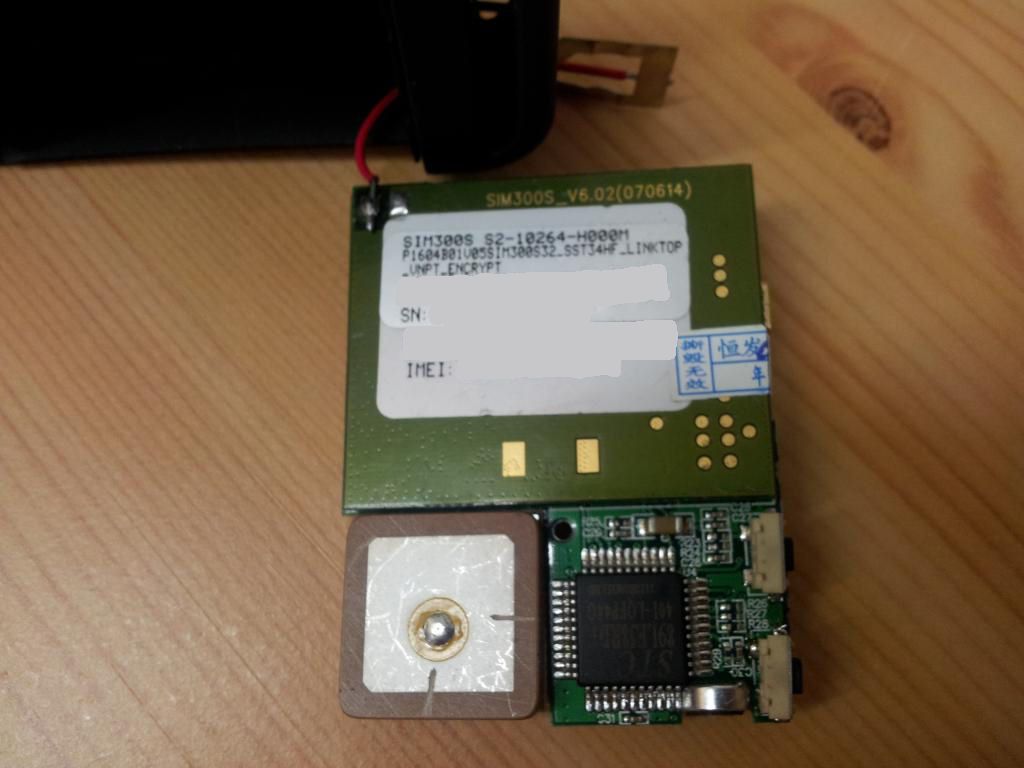
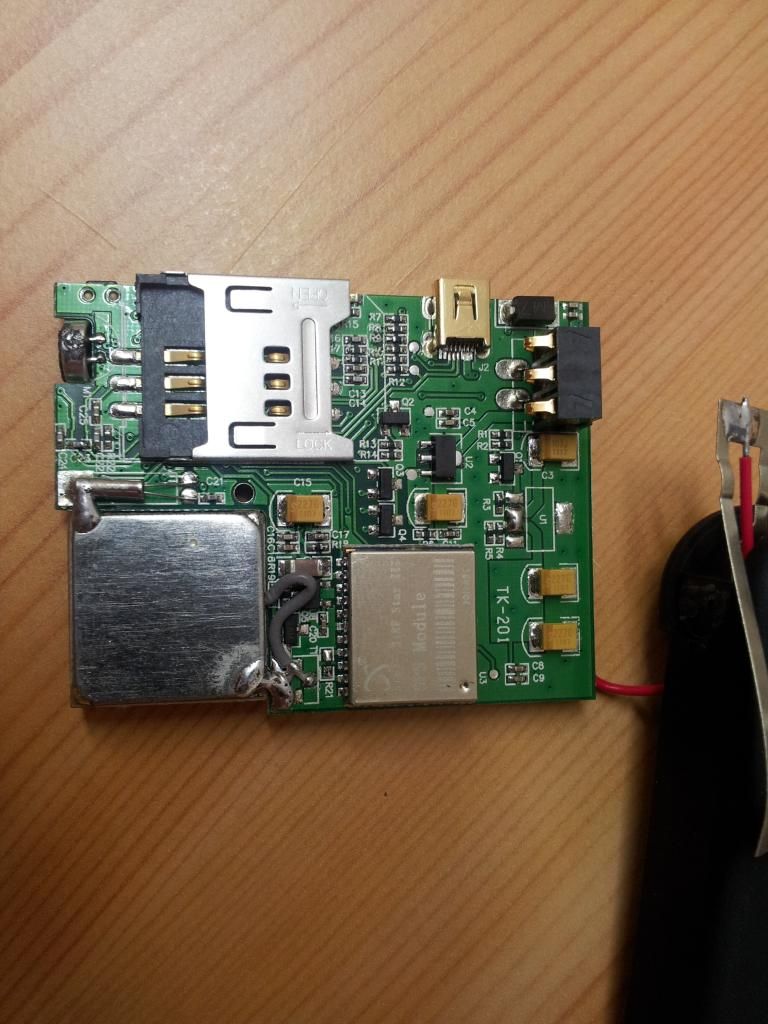
I never thought at the time may be i should have taken pics at stages, i did'nt so finished pics will have to do, when you look inside the battery compartment to the left behind the battery terminals thats where it is, you have to revove the pcb and battery from the tracker and cable tie together so it still works off the battery then its a case of removing some of the plastic inside the p2v till it fits, keep trying the fit and removing more plastic, i fitted a charging plug for the battery on the side of the p2v and soldered the wires to the back of the battery spring terminals on the pcb, the switch on/off button for the tracker is in an awkward place hovever a long screwdriver gets to it no problem, it would be easy to add another switch on the side of the p2v if wanted, the sim is impossible to get to unless you remove the main p2v pcb however i activated the card first on a phone so it has credit on it, i'm hoping when i top the credit up it just adds to the account and does'nt need the sim removing?, if it does that might be a problem.
The flytrex is on the other side of the compartment set back a bit, that needed alot of plastic removing and also i had to use j.b weld to keep the pcb in place, its sd card is easy to get at though.
This can all be done without unsoldering any wires or removing plugs to speed controllers etc, just remove all the screws and keep all the boards fitted together, they can be moved aside together, moving the main pcb just a little lets you unscrew the battery terminal plug (2 screws), once thats done you can move enough to gain full access to the battery compartment.
I'm crap at explaining things :lol: but hopefully you'll get the general idea, pics tell a thousand words so i'll get some up this week.


")