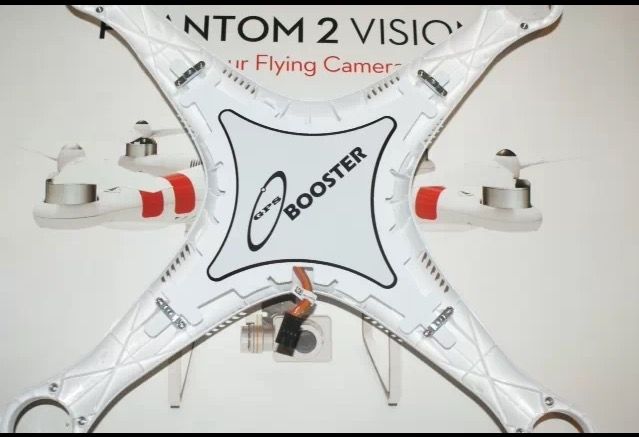
Re: Taking the next step ( mods galore ) update 3/21/15!
Robb said:
J Dot -
Ordered the exact same camera gimble. So how hard is it to install? Is it basically plug and play or is soldering involved.?
Hello Robb,
NO soldering, plug -n-play!
Basically,
1) unplug white wire from Fc200 camera ( thick round white wire )
2) unhook 4 anti-jello balls
3) unplug servo wire
4) set camera assembly aside
5) unscrew 4 Phillips screws, remove gimbal base from bird
( put all extra parts in a ziplock ) mark it ( stock parts )
6)camera assembly
A) remove rubber plug to reveal small Phillips screw on side of camera egg top
B) remove screw
C) pry insert out with small flat screwdriver 0-1 size ( very small flat )
( push insert ( servo adaptor ) out same direction screw came out )
D) separate camera egg from servo plate
( put these parts in same ziplock bag )
E) remove 4 hex screws bottom camera egg
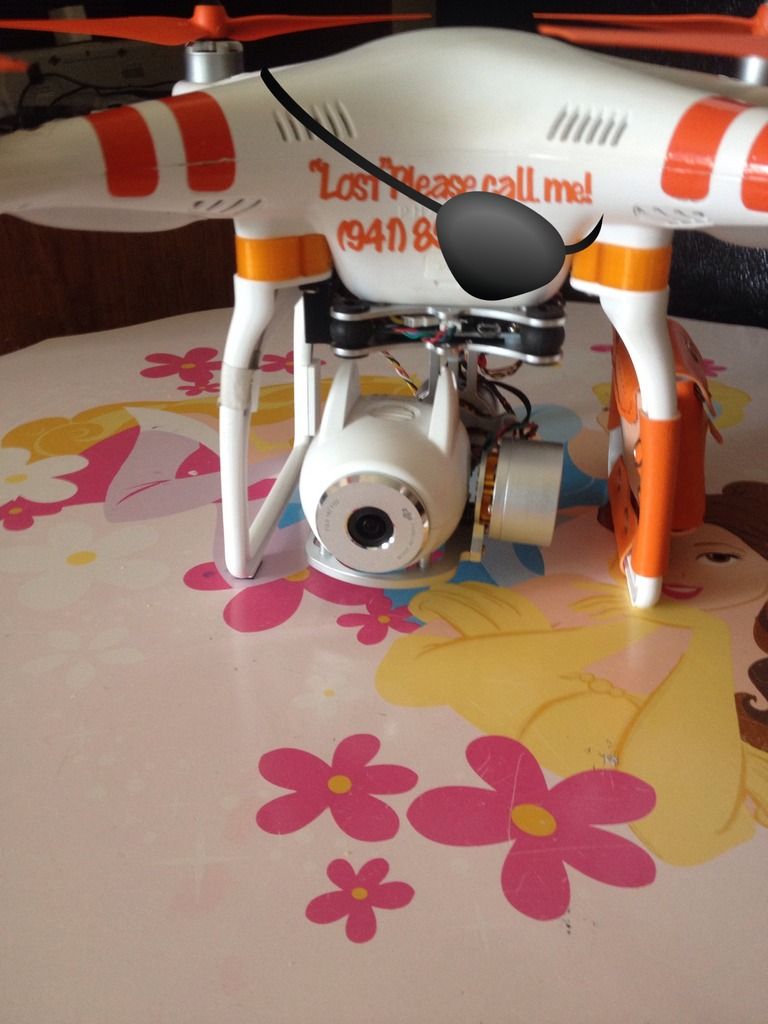
7) mount egg ( fc200 camera ) to new gimbal ( screws supplied )
8) separate new gimbal plates ( off anti-jello balls ) we want top plate
9) mount top plate to phantom ( 4 screws supplied ) ( NOTE: BELOW )**
10) reconnect anti-jello balls to top plate ( top plate to bottom plate gimbal assembly )
11) plug in servo plug
12) plug original white round wire to adaptor wire ( supplied )
13 plug other ( head phone jack end ) to fc200 camera
14) plug 2 red power plugs together
15 ) zip tie everything to keep it neat and clean
( make sure camera can move freely all directions don't get wires too tight to keep camera
From moving full tilt )
16 ) power up bird ( gimbal takes a few seconds extra to boot )
17 ) check tracking by moving bird with your hand, tilting up-down, left, right, ect.
18 ) set limits ( NOTE: below )***
Note ( ** )
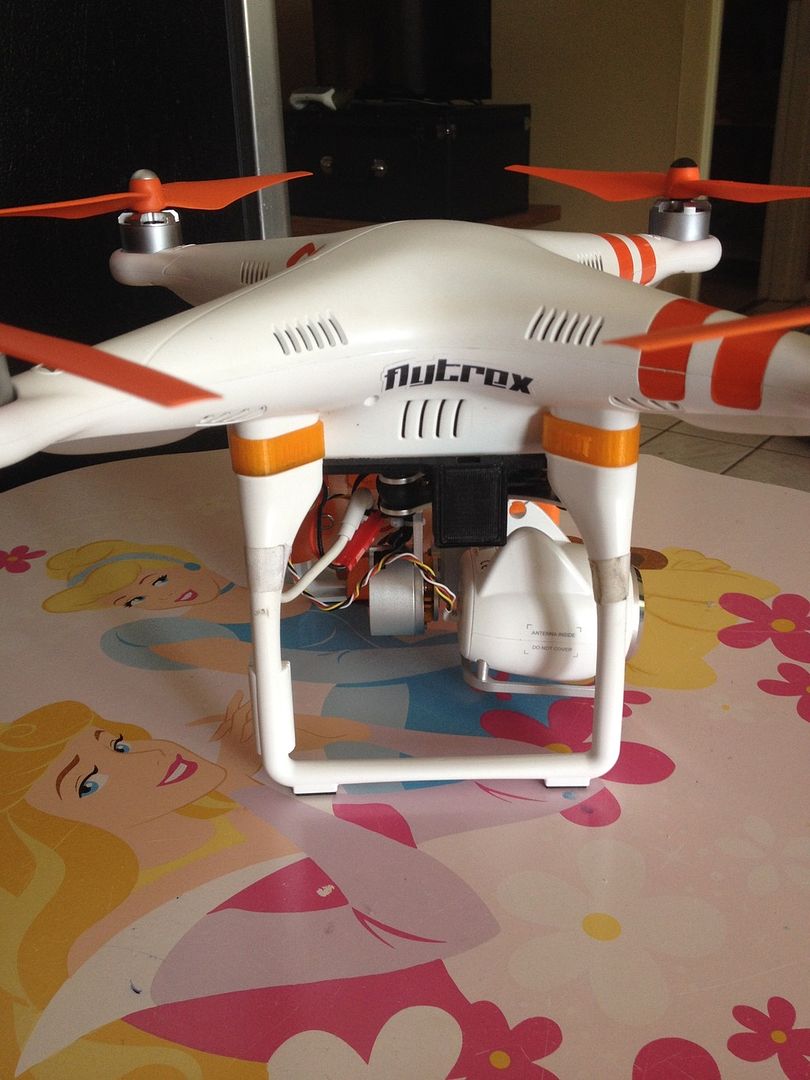
I ran Into an issue here, where top plate covers hole in bottom of phantom, leaving ONLY
the tiny circle hole in gimbal to access wire. Hole is smaller the servo plug end! I had to
Take wires out of plug end, pass wires though hole, and reassemble plug after installed top
Plate! ( take a picture of plug BEFORE disassembly, so you can put it back correctly! Pretty
Easy, just take your time! I showed pictures s couple pages earlier, I used a safety pin for
Disassembly!
NOTE ( *** )
After install , my gimbal went too far up ( hit bird belly ), and too
Far down, way past straight down! So I had to reset limits!
Default is ( max 1000, center 0 min -450 )
I did this
( max 900, center 0, min -250 )
This gave me just enough up to barely see arm of phantom , and STRAIGHT DOWN )
Hope this helps!
Take care, Fly safe!
J Dot