havasuphoto said:OK, thanks.OI Photography said:I have it, use it, love it. That batt and the vision props are my default config now. To be honest I haven't tried any other 2700mAh batts, but this one has delivered great value for the dollar.
Here's some more reports: viewtopic.php?f=4&t=4678
Do you put them in backwards like what's shown in the video? Does it fit easily??
I've done it both ways, depends on whether I want access to my balance plug for my voltage meter. It's a snug fit due to the height of the batt, but not a big pain.
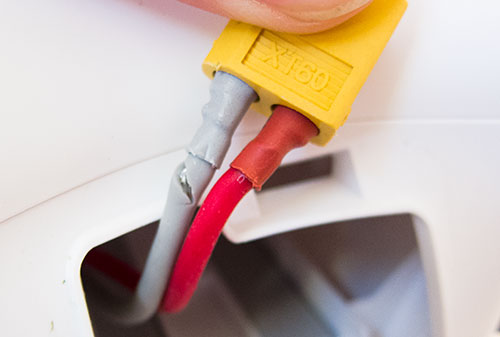
") The battery just connects through the balance tap, that's all that's needed for those functions.
The battery just connects through the balance tap, that's all that's needed for those functions.